YouTube to MIDI: use one short melody, then check the contour
For YouTube to MIDI, begin with a local audio file you own or are allowed to use. Choose five to fifteen seconds with one exposed melody, convert that phrase, and keep the MIDI only when its rises, repeats, and pauses still match what you hear.
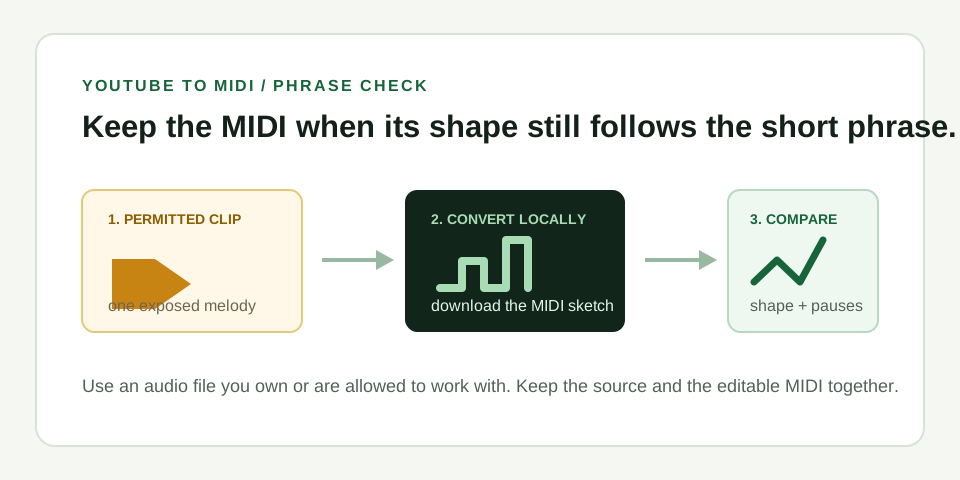
.mid in a piano roll, and compare its direction before you spend time editing notes.Pick the right phrase before you convert
The best source is not necessarily the most popular video or the loudest moment. Look for an exposed vocal line, solo instrument, or simple lead that you can sing back after one listen. A short section gives you a known beginning, movement, and ending. That makes it possible to decide whether the MIDI follows the intended line.
Busy sections can contain a lead, bass, chord tones, percussion, backing vocals, effects, and room noise at the same time. A melody estimator may follow the strongest pitch at each instant. If the expected line is not plainly audible on its own, move to a different moment or prepare a clearer source file first.
Use YouTube material responsibly
Start only with material you created, licensed, or otherwise have permission to work with. This page does not provide video downloading, account access, or a way around a platform's rules. Once you have a permitted local audio file, the conversion check is the same as for any other audio source.
Keep the URL, source file, and resulting MIDI together in your project folder. That small record answers a practical question later: which phrase did this piano roll come from? It also lets you return to the exact moment when you want to correct a note.
Convert the local excerpt and inspect the result
- Trim a fair test. Use five to fifteen seconds. Leave a little quiet space before and after the phrase when possible, and avoid cutting into a note onset.
- Choose the intended melody. Select the Melody or solo-instrument path when that matches the source. Start with Balanced sensitivity so the first result has a predictable baseline.
- Open the downloaded MIDI. Use a piano roll or MIDI editor. Compare the large movements first rather than correcting every small timing difference immediately.
- Make a keep or retry decision. Keep an editable sketch when it climbs, falls, repeats, and pauses in the same places as the source. Retry with a clearer phrase when it follows an unrelated part.
A three-pass acceptance check you can repeat
Use the same short excerpt for all three passes. First, listen without looking at the editor and describe its shape in ordinary words: for example, “up, up, hold, down.” Second, look at the MIDI piano roll and make the same description. Third, play the source and MIDI one after the other, focusing on the first note, the most obvious change, and the final note.
Accept the result when all three descriptions agree closely enough that a small edit is faster than a new conversion. Reject it when the MIDI changes direction at the main movement, turns one held note into unrelated movement, or tracks the bass instead of the lead. This test produces a recordable decision rather than a vague impression from the download button.
| What the piano roll shows | Likely reason | Next move |
|---|---|---|
| Empty or nearly empty output | The phrase has no stable dominant pitch | Choose a clearer solo section |
| Extra short notes around one sustained note | Effects, compression artifacts, breath, or percussion | Trim more tightly and use a drier phrase |
| Contour follows low notes | Bass is stronger than the intended melody | Find an exposed lead section |
| One or two wrong notes, correct overall path | Ambiguous onset or slide | Keep the sketch and correct those notes in an editor |
What this conversion can and cannot give you
The result is an editable melody sketch: note pitch, start time, length, and velocity events that you can revise in a DAW or notation editor. It does not preserve the singer's sound, guitar tone, room ambience, or video audio. Choose a new instrument after import when you want playback.
MIDI Convert estimates one dominant melody. It does not split stems, transcribe a whole song into separate tracks, recognize every chord, or turn drums into a complete MIDI arrangement. Use an isolated short phrase when your goal is a melody you can inspect and edit.