Convert MIDI to MP3: export a checked preview or share file
To convert MIDI to MP3, first choose the instrument that will play the notes. Export the rendered performance as an MP3, then check its opening, a musical transition, and its ending before you send it as a compact preview or share file.
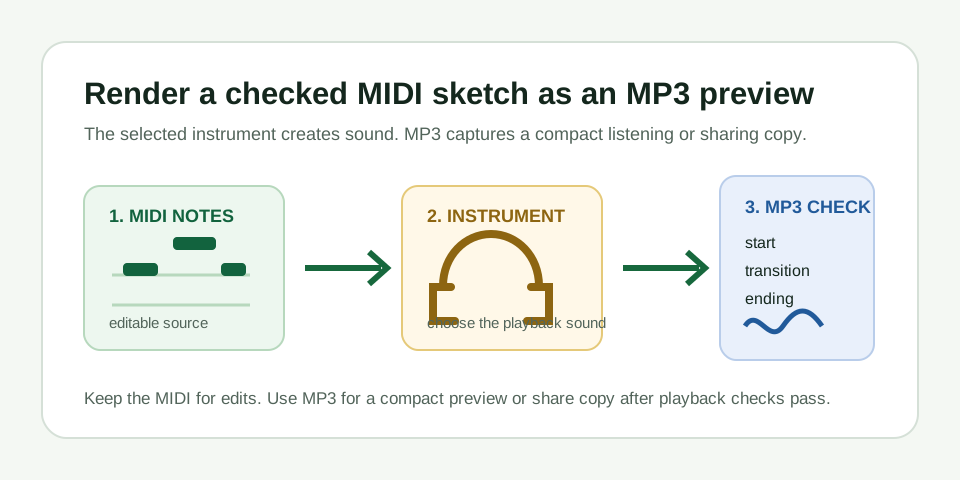
.mid in a DAW, notation app, or MIDI player, assign a simple instrument, and export or render MP3. Before sharing it, listen to the first note, one clear transition, and the ending. If the timing or ending differs from the MIDI project, correct the export range or playback settings and render again.Know what changes during a MIDI-to-MP3 export
MIDI stores performance events such as pitch, timing, duration, velocity, and controls. It does not contain recorded audio. An instrument inside your DAW, notation software, or MIDI player turns those events into sound; the MP3 export captures that chosen sound in a compact audio file.
That is why one MIDI file can produce several valid MP3 previews. Change the piano to a synth, change the tempo, adjust a release tail, or route the track through effects, and the MP3 will change even when the MIDI note events do not. Keep the MIDI beside every export so an audio preview never becomes the only copy of your editable work.
Export MIDI to MP3 in five steps
- Open the checked MIDI sketch. Confirm the notes are the version you intend to hear. If it came from an audio conversion, use the source recording to resolve note mistakes before export.
- Assign a playback sound. A plain piano is useful for a neutral preview; choose another instrument only when its sound is part of what you want to share.
- Set the export range. Start at or just before the first note. Include enough time after the final note for the chosen instrument's release or effects tail.
- Render or export MP3. Use the application's MP3 export command. Name the file so it identifies the instrument or version, for example
melody-piano-preview.mp3. - Play the exported file separately. Listen outside the editing project at the start, one transition, and the final ending. This catches an accidental loop range, cut-off tail, or different output route.
Use a three-point listening check
| Playback point | What to compare | If it differs |
|---|---|---|
| Opening | First note, silence before it, and selected instrument | Check the export start and the intended track or instrument |
| Transition | One obvious note change or pause from the MIDI project | Check project tempo, MIDI routing, and whether the correct section rendered |
| Ending | Final note length and intentional release tail | Extend the export range, then render the MP3 again |
MP3 preview versus WAV delivery
MP3 is useful when you need a smaller file for a quick listening copy or ordinary sharing. WAV is commonly used when the destination asks for uncompressed audio or a production-quality delivery file. The musical preparation is the same: choose a sound, set a range, and compare playback. The format changes the exported audio file, not the editable MIDI notes.
Use the MIDI to WAV export workflow when the destination requires WAV or when you want a checked uncompressed render. Use this MP3 page when the practical job is a compact preview or share file. Do not convert repeatedly between formats; export a fresh MP3 or WAV from the checked MIDI project when possible.
A reproducible three-pass preview test
Use any short MIDI phrase that has an identifiable beginning, a note change in the middle, and a deliberate ending. Write down the three playback positions before rendering. Then export the same MIDI twice with the same sound and range. The two MP3 files should have the same note order, transition, and ending; small encoding differences do not change the intended musical sequence.
Next, render the same MIDI with a different instrument while keeping the tempo and export range unchanged. The tone should change, while the three marked points remain in the same order and timing. This separates an intended sound choice from an accidental project or export mistake. It is a repeatable workflow check, not a claim about MP3 audio quality or a numerical accuracy score.
Common MP3 export problems
| What you hear | Likely reason | Next move |
|---|---|---|
| Correct notes but the wrong instrument | A different preset or track was rendered | Reopen the intended sound and confirm the active output track |
| MP3 cuts off at the end | The export range excluded the note release or effects tail | Extend the ending range and export again |
| Beginning is missing or late | The range begins after the first event or silence | Set the start just before the first intended note |
| Tempo feels wrong | The project or MIDI playback setting changed | Compare the project tempo and the three marked playback points |
| No sound in the export | No playable instrument or output route was active | Assign an instrument and verify the track reaches the master output |
Where MIDI Convert fits
MIDI Convert makes an editable estimate of one dominant melody from audio. It does not render MIDI into MP3, supply instruments, mix audio, or export multitrack arrangements. After you have verified or edited the single melody sketch, use your own playback software to select a sound and create the MP3 preview. Keep the original audio and MIDI together when future edits matter.
Questions about MIDI to MP3
Does MIDI contain the sound I hear in an MP3?
No. MIDI contains note events. The instrument chosen by your playback software creates the sound that becomes the MP3.
Should I keep the MIDI after exporting an MP3?
Yes. The MP3 is an audio copy for listening or sharing. The MIDI remains the editable source and lets you change notes, choose another sound, or create a new export.